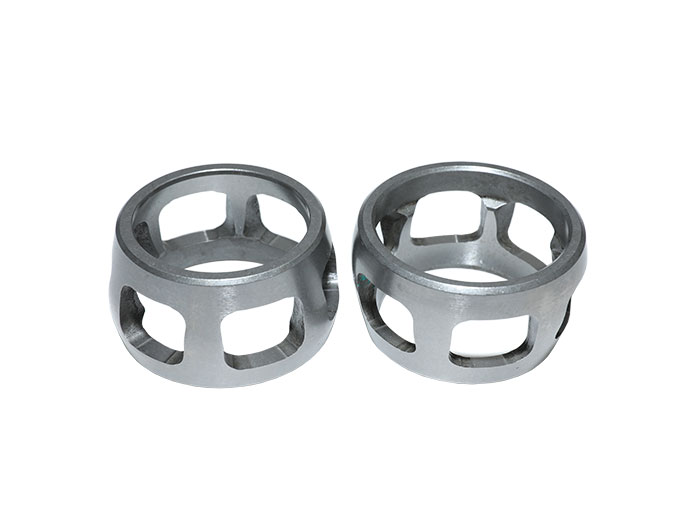
Replacing a faulty DOJ (Double Offset Joint) CV joint is a critical task to ensure the smooth and reliable operation of a vehicle's drivetrain. The CV (Constant Velocity) joint is an essential component that allows the wheels to maintain a consistent velocity while turning. Over time, these joints can wear out or get damaged, leading to vibrations, clicking sounds, and potentially dangerous handling issues. Replacing a faulty
DOJ CV joint requires proper tools, knowledge, and attention to detail. Below are the steps involved in this process:
Safety Precautions:
Before beginning any repair work, ensure that the vehicle is parked on a level surface and the engine is turned off. Engage the parking brake and chock the wheels to prevent the vehicle from moving during the repair. Wear appropriate safety gear, such as safety glasses and gloves, to protect yourself from potential hazards.
Lift and Secure the Vehicle:
Using a hydraulic jack, lift the vehicle off the ground and support it securely on jack stands. Make sure the vehicle is stable and cannot move during the repair process. It's essential to work on a level surface and follow proper safety procedures to prevent accidents.

Remove the Wheel and Tire:
Remove the wheel and tire on the side where the faulty DOJ CV joint is located. Use a lug wrench to loosen the lug nuts before lifting the vehicle and then fully remove them to take off the wheel.
Remove Brake Components:
Depending on the vehicle's make and model, you may need to remove the brake caliper and rotor to gain access to the CV joint. Start by loosening the caliper mounting bolts and then detach the caliper from the brake bracket. Use a bungee cord or wire to secure the caliper out of the way without disconnecting the brake line. Next, remove the brake rotor from the wheel hub.
Disconnect the Steering Knuckle:
Detach the steering knuckle from the wheel hub by removing the castle nut or axle nut that secures it in place. Use an appropriate socket or wrench to remove the nut. A ball joint separator tool may be necessary to separate the steering knuckle from the wheel hub.
Remove the Axle Shaft:
Once the steering knuckle is disconnected, you can slide the axle shaft out of the wheel hub and transmission. Be cautious not to damage the axle shaft or CV joint during this process. You may need to gently tap the end of the axle shaft with a soft mallet or use a pry bar to carefully remove it from the transmission.
Remove the Faulty DOJ CV Joint:
Inspect the CV joint for any signs of damage, such as torn boots or excessive wear. If the CV joint is indeed faulty, carefully remove it from the axle shaft by unbolting the retaining clips or bands that hold it in place. Some CV joints may require a special tool for removal. Take note of the orientation of the CV joint before removing it, as the new one must be installed in the same position.
Install the New DOJ CV Joint:
Before installing the new CV joint, apply a thin layer of grease inside the joint to ensure smooth operation and lubrication. Align the new CV joint with the axle shaft, and secure it in place with new retaining clips or bands. Double-check the orientation to ensure it matches the previous CV joint.
Reassemble the Components:
Reassemble the components in the reverse order of disassembly. Slide the axle shaft back into the transmission and the wheel hub, then reattach the steering knuckle and secure it with the castle nut or axle nut. Install the brake rotor and caliper, tightening the caliper mounting bolts securely.
Reinstall the Wheel and Tire:
Put the wheel back onto the wheel hub and hand-tighten the lug nuts. Once the vehicle is lowered to the ground, use a torque wrench to tighten the lug nuts to the manufacturer's specified torque.
Test the Repair:
With the vehicle back on the ground, start the engine and test the repair. Listen for any unusual noises, and check for vibrations or handling issues while driving. If everything appears normal, the replacement of the faulty DOJ CV joint is successful.
Perform Alignment Check:
In some cases, replacing a CV joint may impact the alignment of the vehicle. It's a good idea to have the alignment checked and adjusted if necessary to ensure proper tire wear and optimal handling.
